

Staring at a box full of tiny wooden pieces, LED wires, and an instruction booklet can feel intimidating the first time. It is a fair reaction, a finished book nook looks intricate enough that it is easy to assume it takes years of craft experience to build one. In reality, most kits are designed so a complete beginner can finish a solid first build in a single weekend.
This is the step-by-step guide this blog has been missing: a full walkthrough of how to build your first book nook, from opening the box to switching on the lights for the first time.
Before You Start: What You Actually Need
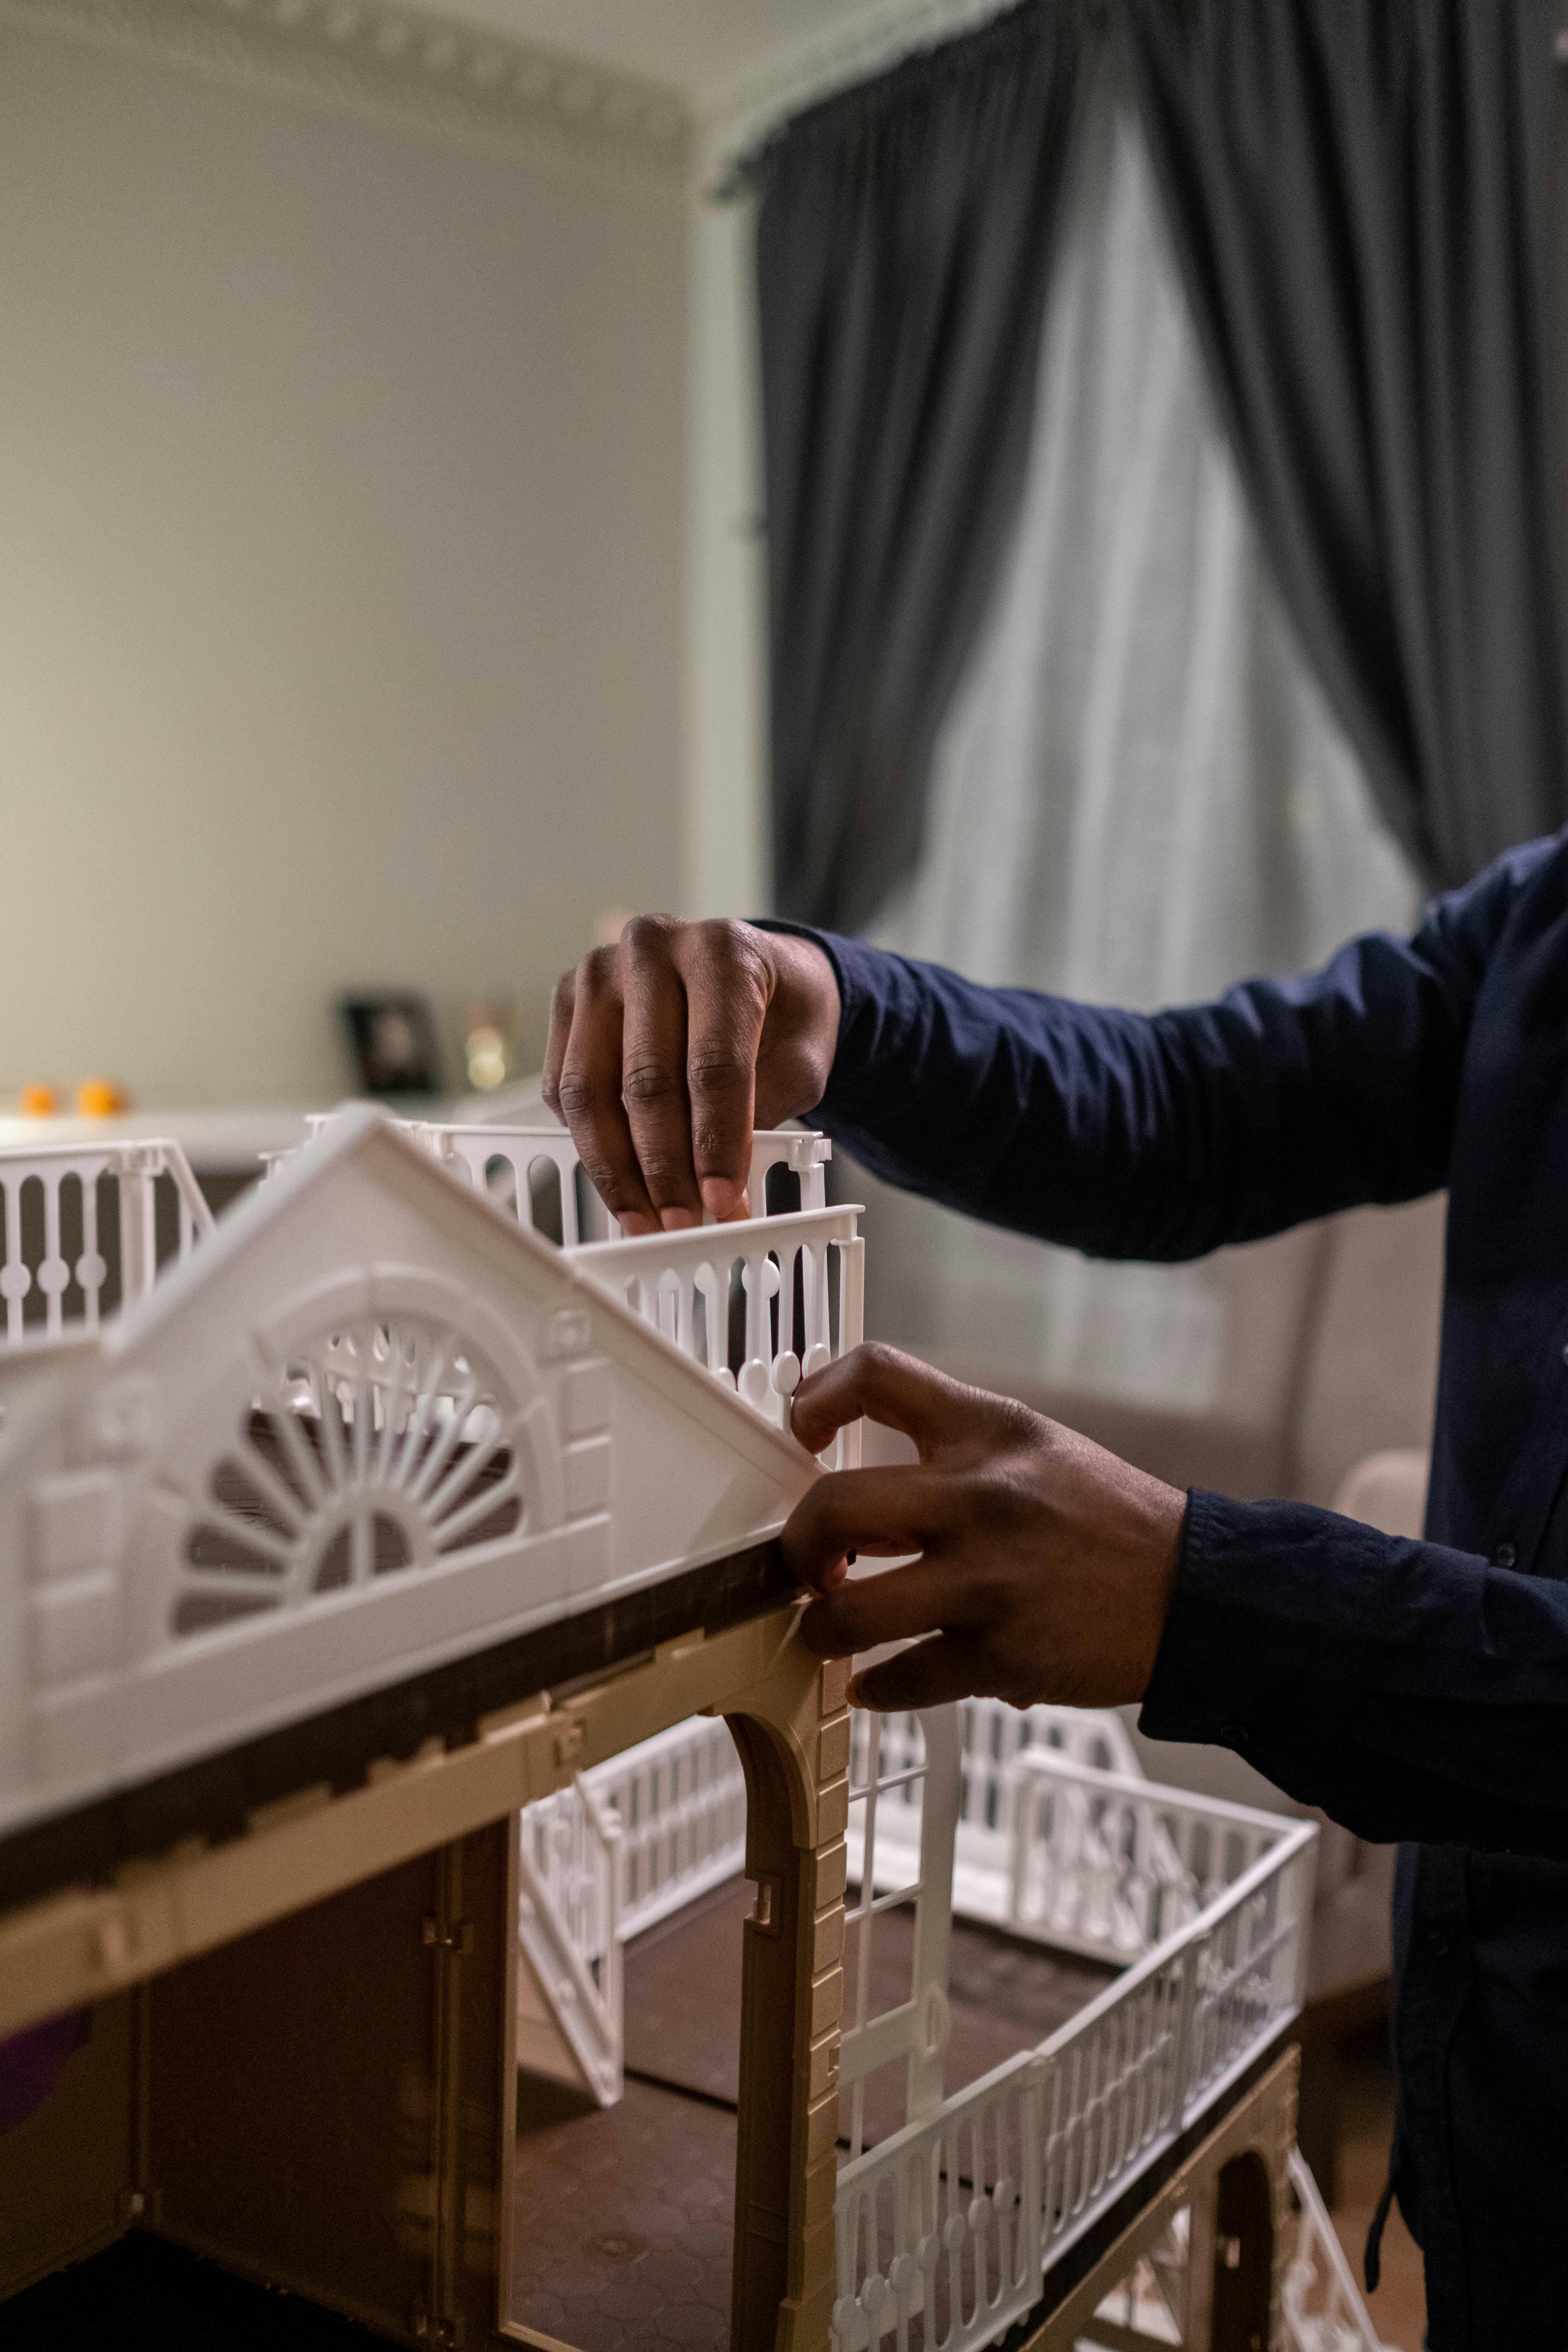
Every kit already includes the wooden pieces, glue, LED lighting, and an illustrated manual, so you do not need to buy anything extra to get started. A few optional tools make the process smoother: a pair of fine tweezers for placing tiny furniture, a small cutting mat to protect your table, and good lighting so you can see fine details clearly. If you have not picked a kit yet, browse popular book nook themes to find one that matches your taste, and check our guide to common mistakes when buying a book nook before you order.
Step 1: Unbox and Sort Every Piece
Before touching any glue, lay out every piece on a flat surface and match them against the parts list in the manual. Kits typically group pieces into numbered bags by build stage. Sorting first means you are not hunting for a specific piece with wet glue on your fingers later, and it is also the fastest way to spot a missing or damaged piece early enough to contact support.
Step 2: Read the Full Manual Before You Glue Anything
This step gets skipped more than any other, and it causes more first-build problems than anything else. Book nook manuals are illustrated step by step for a reason: later stages sometimes depend on how an earlier piece was oriented. A full read-through before you start gluing takes ten minutes and prevents the most common beginner mistake of having to pry apart a piece that has already set.
Step 3: Build the Base Structure First
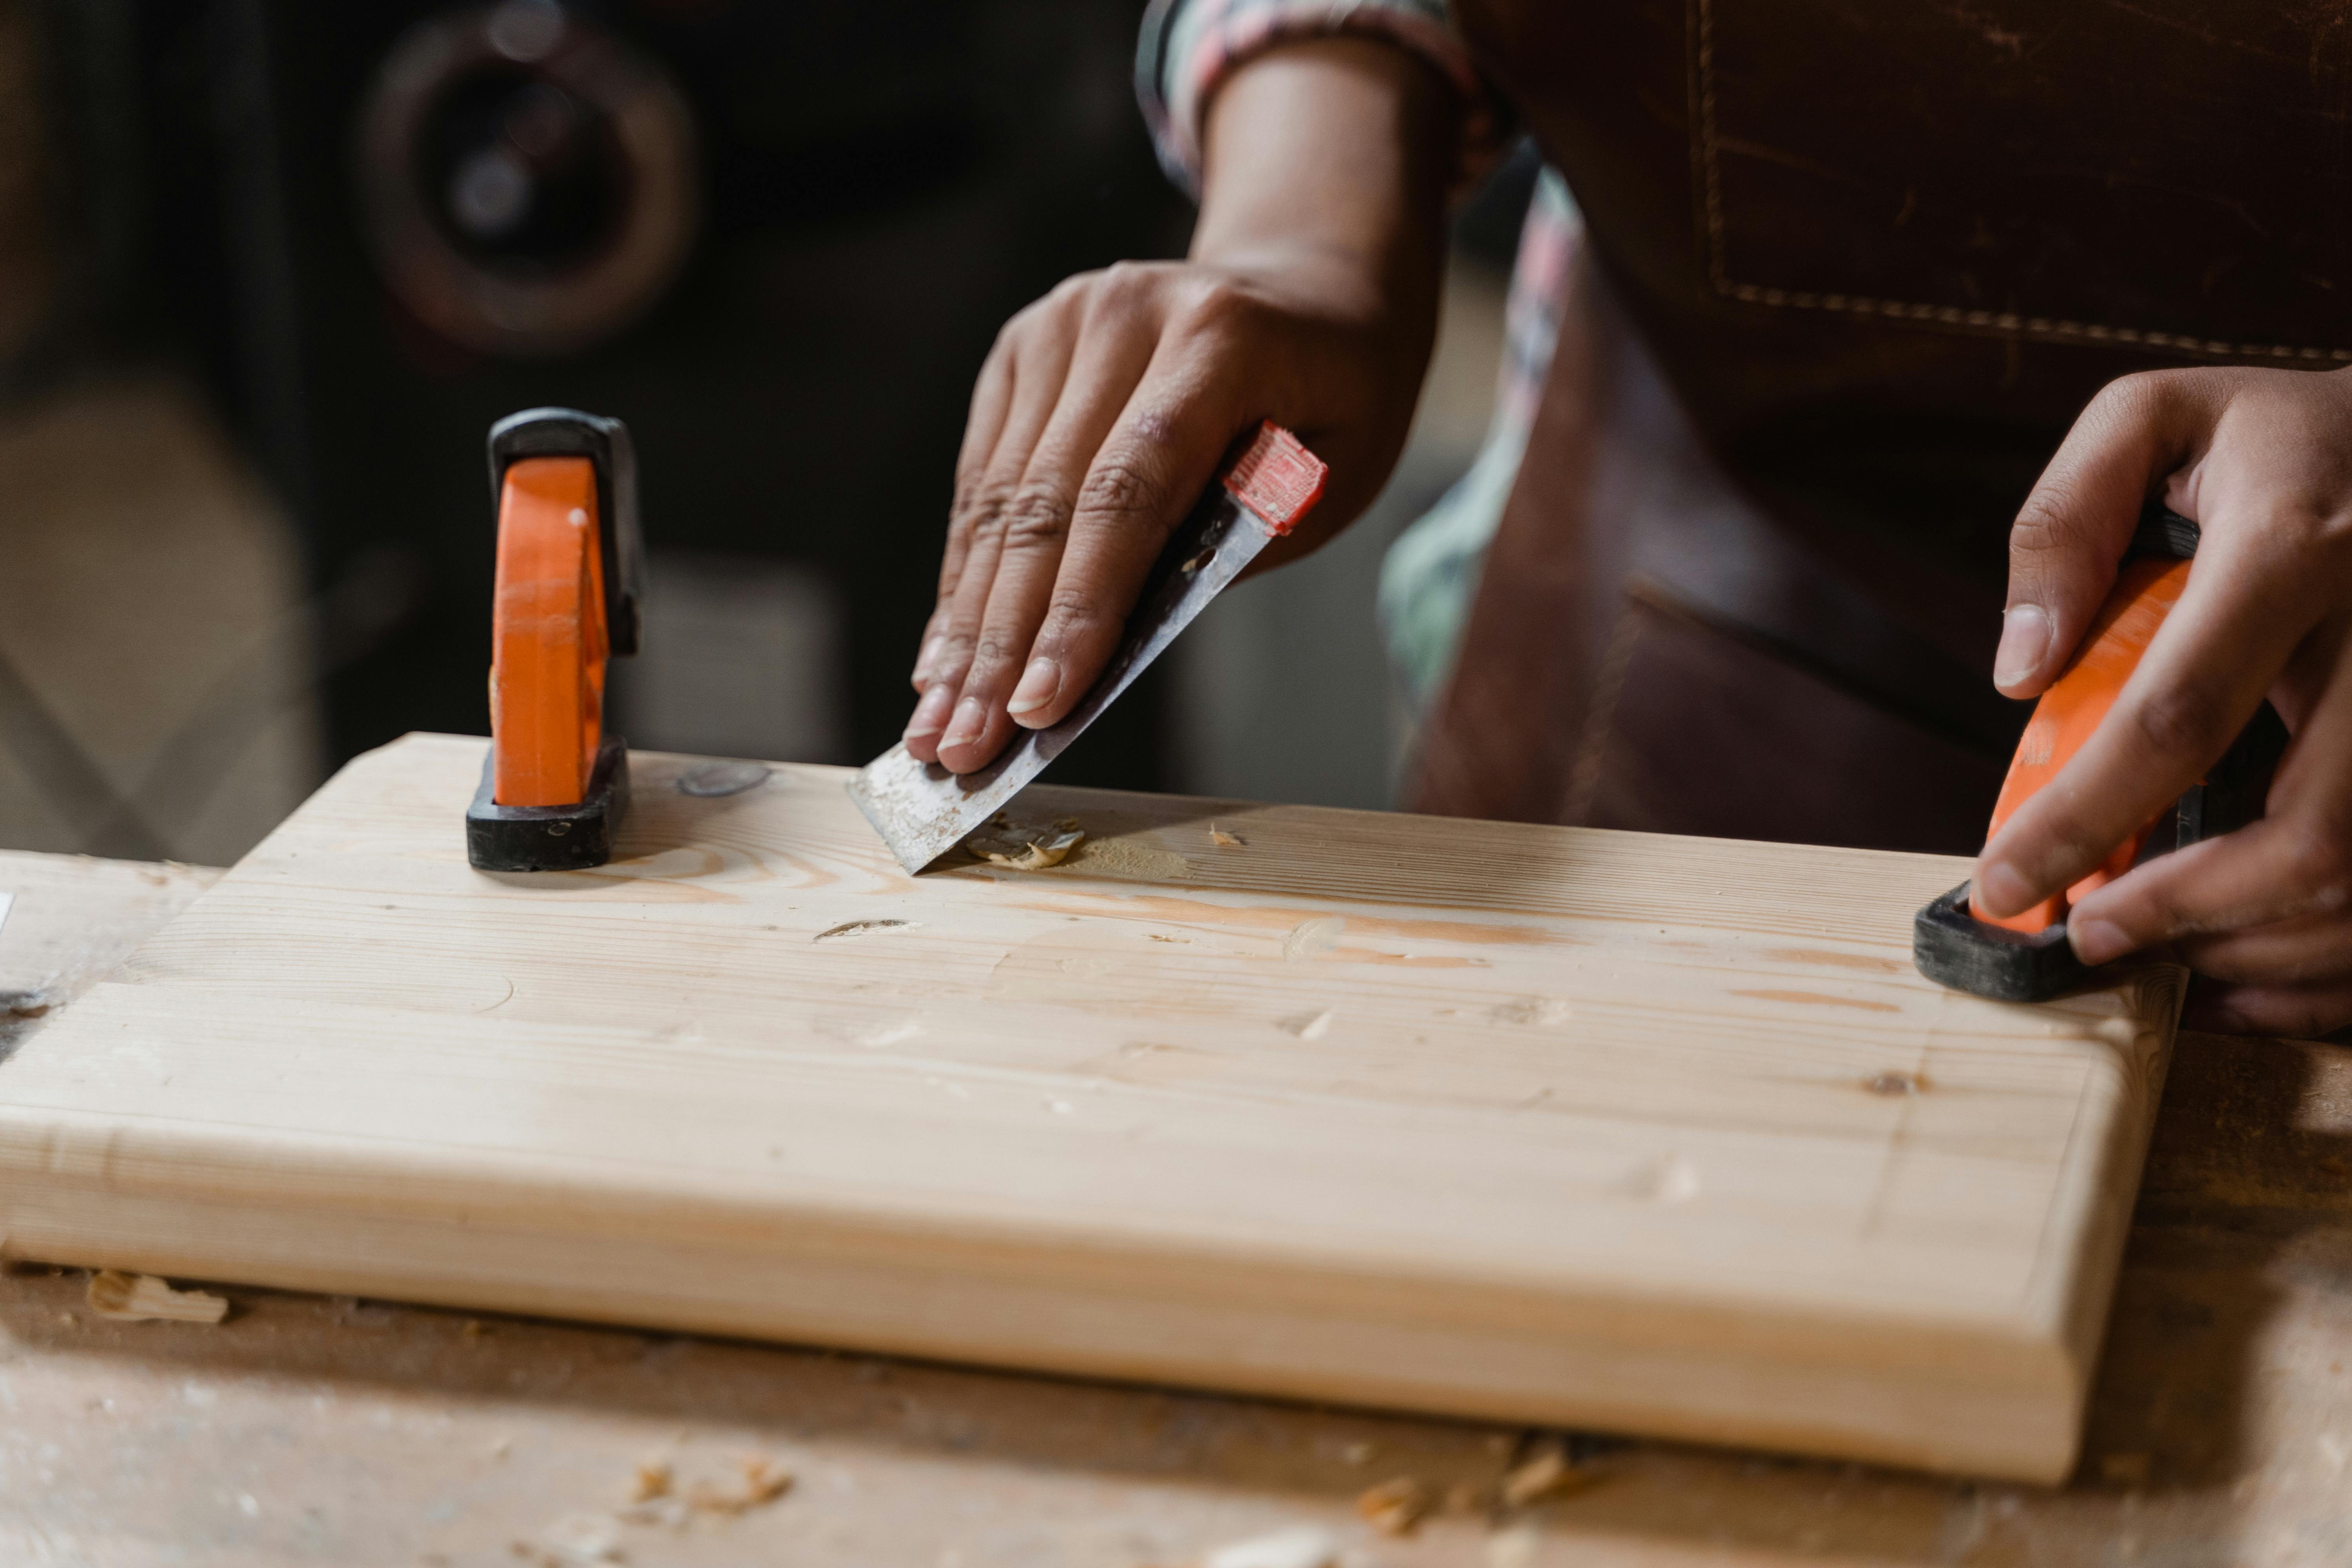
Start with the floor and outer walls, the shell that everything else will attach to. Work slowly here and check that walls sit flush and square before the glue sets, since a slightly crooked base becomes harder to correct once interior walls and furniture are in place. This stage is not the most exciting part of the build, but getting it right makes every later step easier.
Step 4: Install the LED Lighting Before You Close Anything Up
Wire the LED strip and test the battery pack or USB connection while the interior is still fully open and accessible. This is the step most beginners are tempted to save for last, and it is exactly the wrong order: threading wires through a nearly finished structure is far harder than routing them while everything is still open. Confirm the lights actually turn on now, while fixing a loose connection is still a five-minute job instead of a rebuild.
Step 5: Add Furniture and Decorative Details
With the structure built and the lighting confirmed working, this is where the kit starts to feel like a real scene. Add furniture, shelving, and small decorative props according to the manual's layout, using tweezers for anything too small to place precisely by hand. This stage is slower than the structural steps but far more forgiving, small placement adjustments are easy to make before the glue fully sets.
Step 6: Attach the Facade and Exterior Last
The outer facade, windows, doors, and any exterior trim go on last, once the interior is fully built and you can no longer easily reach inside. Dry-fit the facade first without glue to confirm it aligns correctly, since this piece is the hardest to redo cleanly if it goes on crooked.
Step 7: Let the Glue Cure, Then Test Everything
Give the finished piece the full curing time listed in your manual, usually a few hours, before moving or displaying it. Once cured, test the LED lighting one final time and gently check that no furniture has shifted. Only then is it ready for its permanent spot on your shelf.
Common Beginner Mistakes to Avoid During Assembly
Most first-build issues come down to a short list of avoidable errors: gluing before reading ahead, installing the LED lighting too late, and rushing the base structure instead of letting it sit flush and square. Slow down at these three points and the rest of the build tends to go smoothly.
What to Do Once You're Finished
Finishing your first build is only half the fun, where and how you display it matters too. Once the glue has cured, take a look at our guide on how to display your book nook collection for ideas on shelf placement, lighting, and pairing it with your books. And if the first build leaves you wanting another, the full book nook kit collection has plenty of themes to try next.
Frequently Asked Questions
How long does it take to build a first book nook?
Most beginner-friendly kits take between three and six hours of hands-on building time, often spread across a weekend rather than done in one sitting. Larger, more detailed kits can take significantly longer.
Do I need any special tools to get started?
No. Everything required is included in the kit. A pair of fine tweezers and a small cutting mat are helpful but entirely optional for a first build.
Can a beginner really finish a book nook without prior experience?
Yes. Kits are specifically designed for first-time builders, with pre-cut pieces and illustrated step-by-step instructions. Patience matters far more than prior craft experience.
What glue works best for a book nook kit?
Use the glue included with your kit unless the manual specifies otherwise. It is formulated for the wood and materials used in the build. A craft-safe white glue or wood glue is a good general substitute if you ever run short.


0 comments